Adding an Extended Property to an Item Class
Once you have created an extended property definition, you can add the property to an item class. Perform the following steps to add an extended property to an item class.
- Navigate to the Item Class tree in your KommerceServer store and select the item class you want to modify. For this example, we are selecting our Router Bits item class.
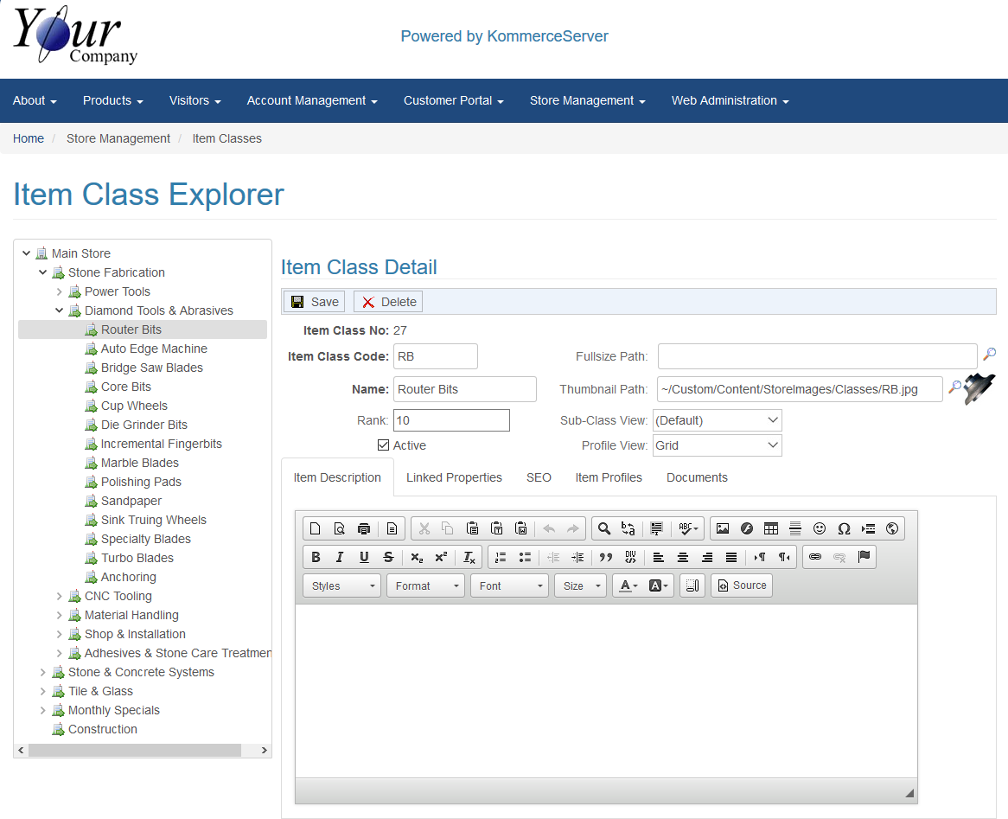
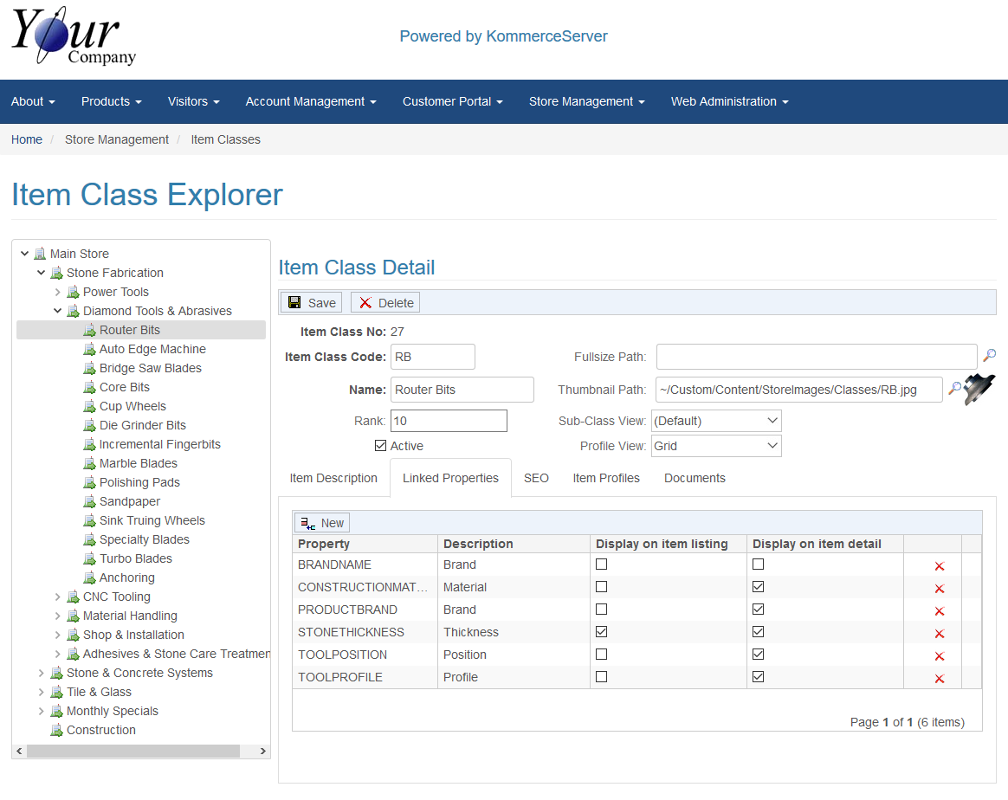
- Click the Linked Properties tab. The Linked Properties area displays at the bottom of the page.
- Click the New button. A new row appears in the bottom of the Linked Properties area.
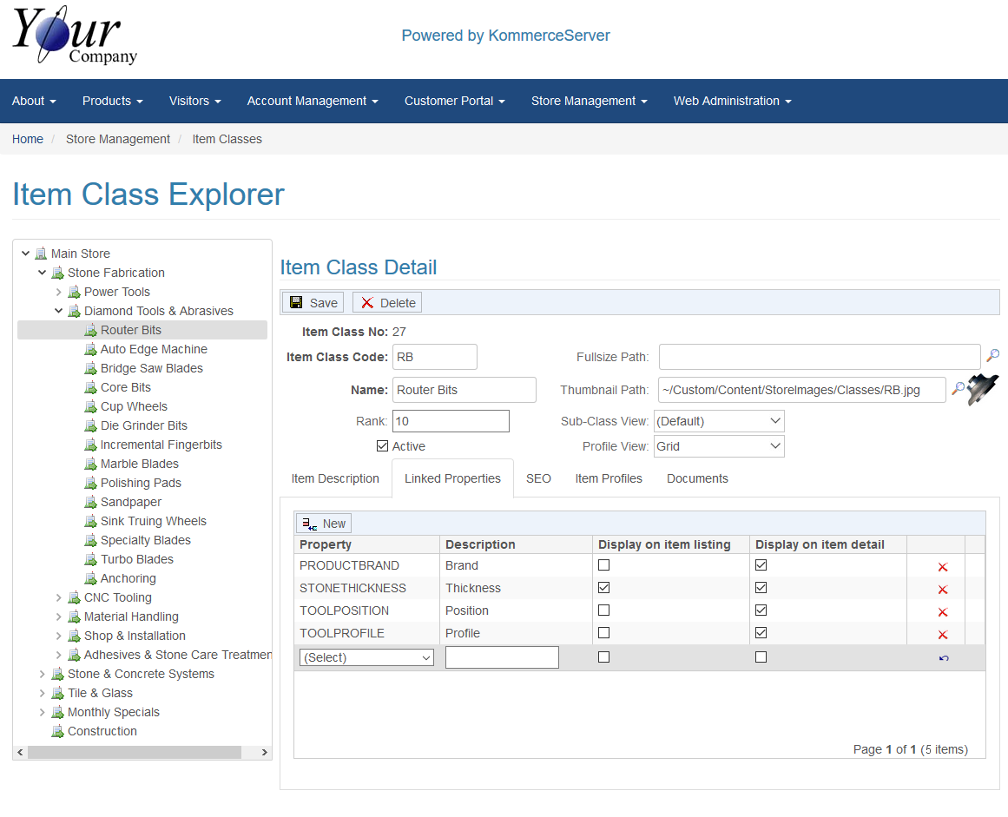
- Select an extended property from the Property drop-down menu.
- Enter a name for your extended property in the Description field. The name you enter is what will display on the applicable KommerceServer pages. For this example, we have created a property called BRANDNAME.
- Select the Display on item listing checkbox if you want the property to be displayed on your item listing.
- Select the Display on item detail checkbox if you want the property to be displayed on the item detail listing.
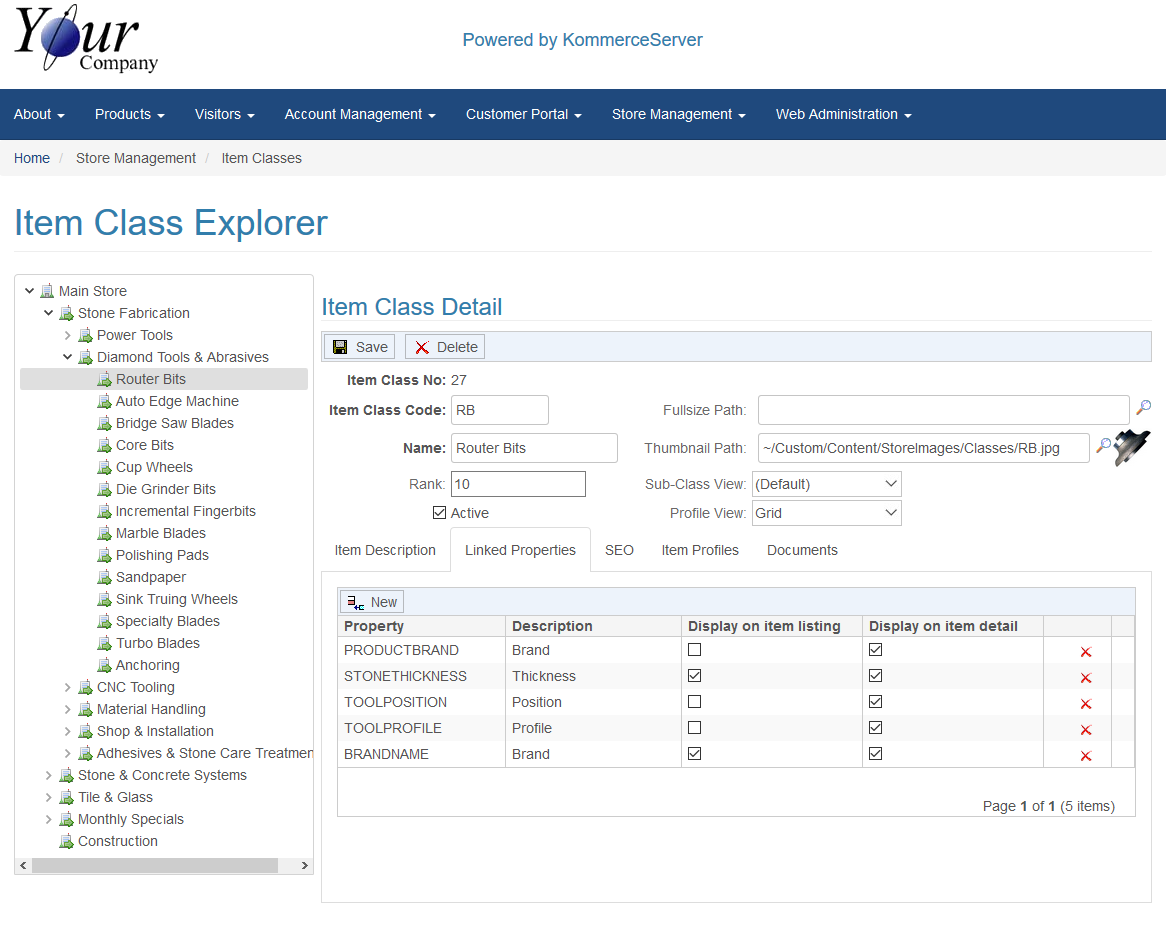
- Click Save to save your changes. The property will now be displayed in any applicable search results or product displays.